Wan 3.0 Guide: How to Use Wan 3.0 AI Video Generator
Follow this Wan 3.0 guide to choose inputs, write video prompts, set duration and resolution, refine results, and download your AI-generated clip.
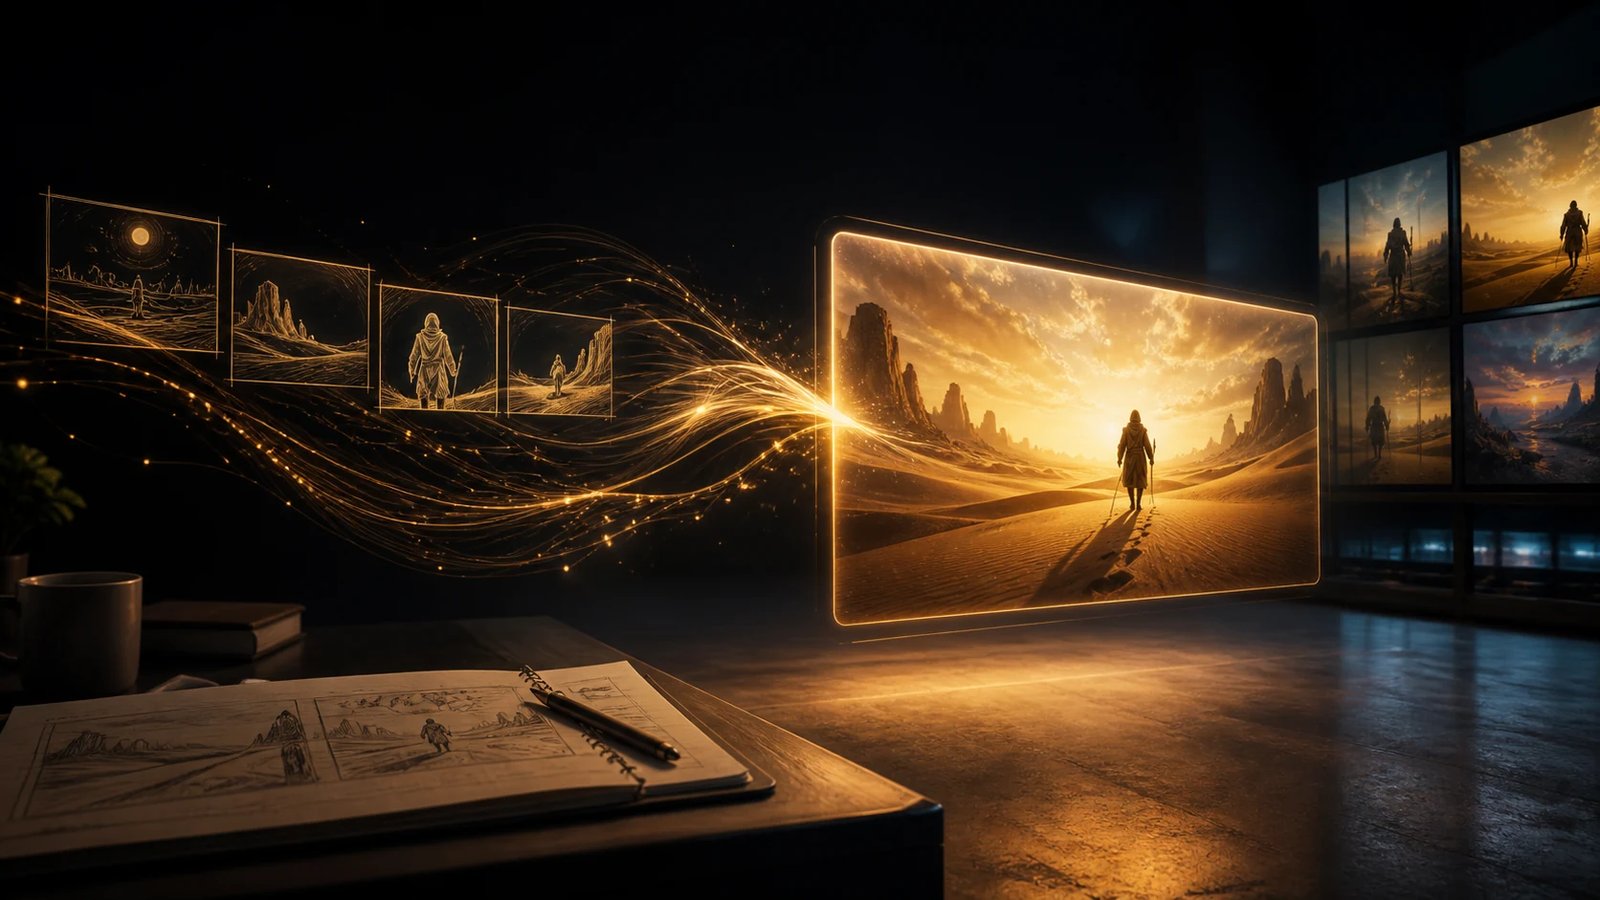
This Wan 3.0 Guide shows you how to use Wan 3.0 AI Video Generator on Wan3.io, from choosing an input mode to downloading a finished clip. Wan 3.0 supports text-to-video, image-to-video, first-and-last-frame generation, and multimodal reference workflows. You can set the duration from 2 to 30 seconds, choose an aspect ratio and resolution, control audio and watermark options, and see the estimated credit cost before rendering.
The fastest way to learn how to use Wan 3.0 is to begin with one subject, one action, and one camera move. Once that shot works, add references, longer timing, or multiple visual beats.
What Is Wan 3.0 AI?
Wan 3.0 is an all-in-one AI video model designed to turn different kinds of creative material into a single video. The Wan 3.0 page highlights four upgrades: generation of up to 30 seconds in one segment, universal creation from multiple input types, omni-reference consistency, and more realistic visual detail.
The longer duration gives continuous camera moves and short narratives more room to develop. Omni-reference workflows are intended to preserve characters, products, scenes, voices, and styles. Important faces, logos, product text, dialogue, and sound should still be reviewed before publishing.
Wan3.io presents Wan 3.0 for short-form stories, advertising, design, data visualization, and travel videos. It works best for creating shots, testing directions, or turning existing material into motion.
How to Use Wan 3.0: Choose the Right Workflow
Open the Wan 3.0 generator, then choose the workflow that matches the material you already have.
- Text-to-Video: Start with a prompt when you want Wan 3.0 to establish the scene, subject, and visual direction.
- Image-to-Video: Upload one first-frame image when composition, character design, or product appearance should guide the result.
- Frames-to-Video: Provide first and last frames when the video needs a defined starting point and destination.
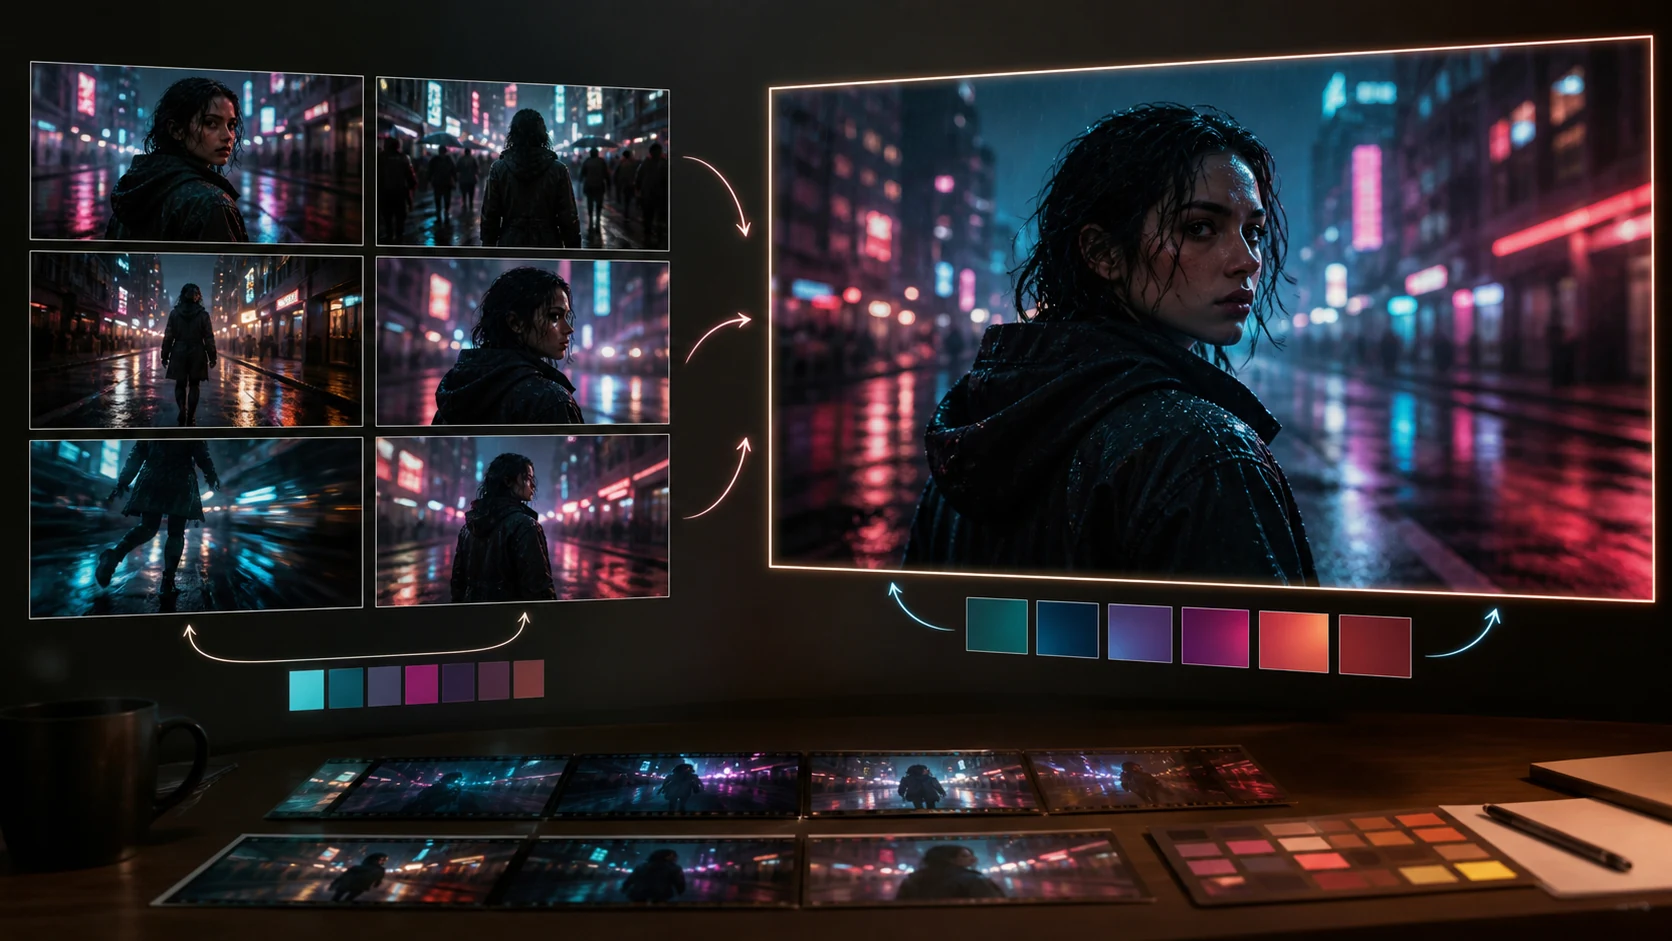
- Reference-to-Video: Add images, short videos, or audio references when identity, movement, voice, or style must remain more consistent.
The workspace accepts JPEG, PNG, WebP, and BMP images; MP4 and MOV video; and MP3 or WAV audio. The page also lists DOC, XLS, PPT, PDF, TXT, Keynote, Pages, Numbers, and Markdown for universal creation. Its stated document limit is one file or link per generation, under 100MB and no more than 50 pages. Check the live workspace because fields depend on the selected mode.
Step 1: Upload a Clear Input or Start From Text
Good inputs reduce later correction. For image-to-video, choose one obvious subject with enough space for movement. Keep a person’s face and clothing readable; use a clean product angle and inspect logos or packaging text after generation.
In reference-to-video, give each asset one purpose: character identity, wardrobe, product structure, camera movement, voice, or timing. Conflicting references make the intended result less clear.
Step 2: Write a Prompt That Directs the Shot
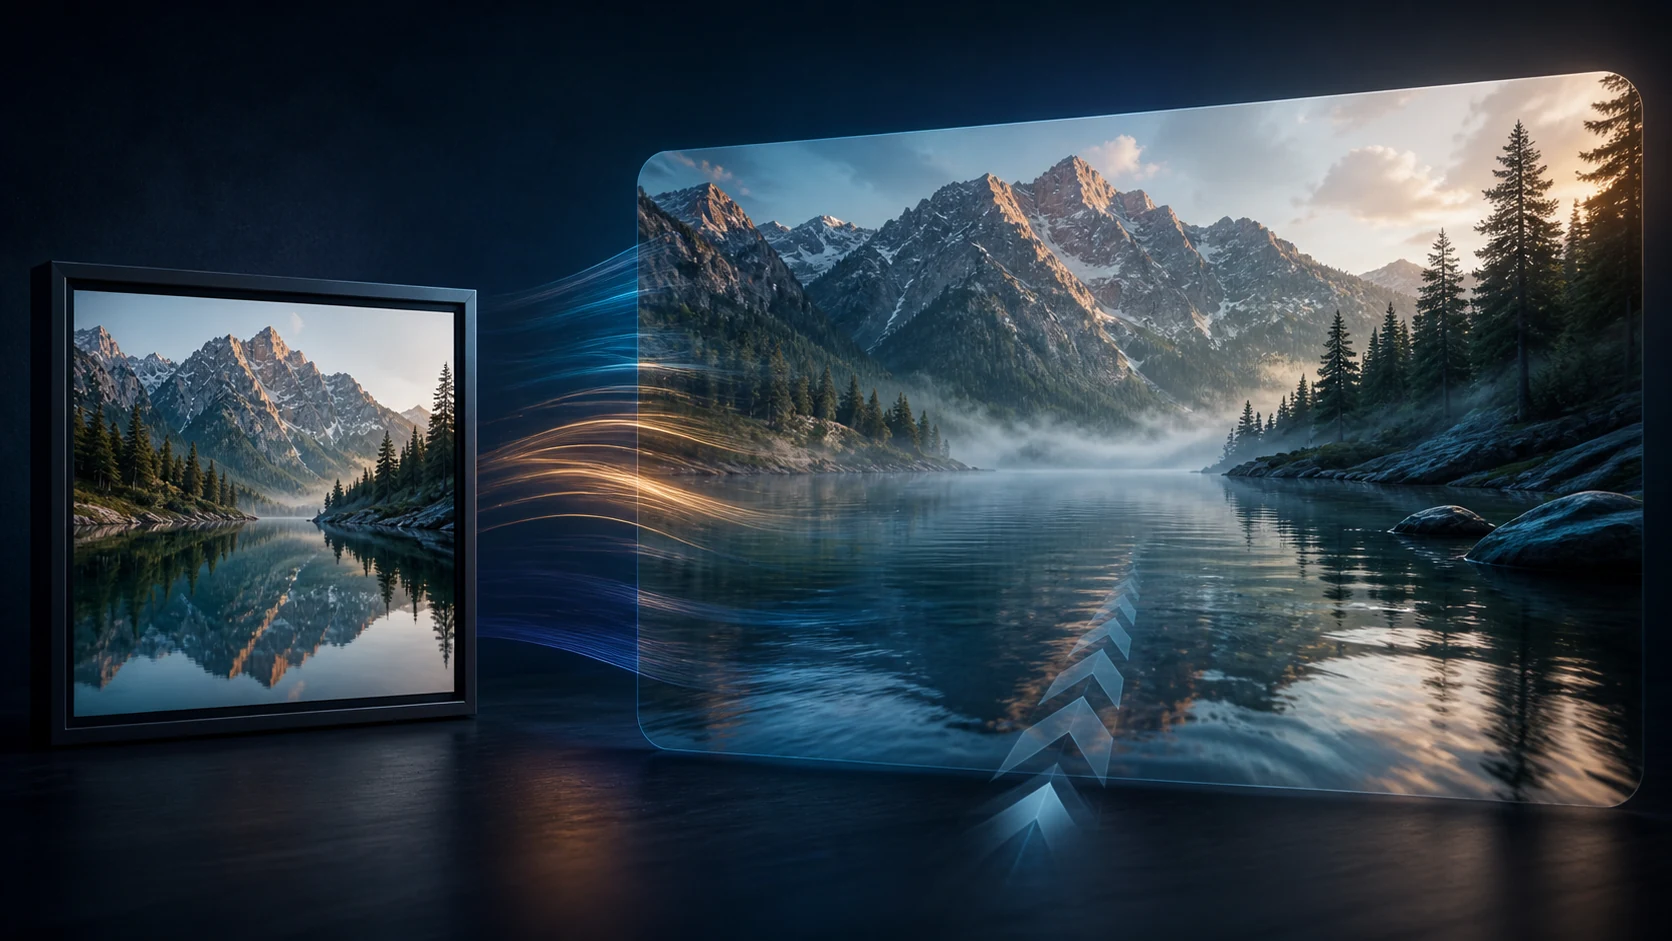
The prompt should explain what appears, what changes, how the camera moves, and what must remain stable.
Use this structure:
[subject and setting] + [action] + [camera] + [lighting and style] + [timing] + [details to preserve]Example:
A ceramic perfume bottle stands on wet black stone at dusk. The bottle rotates slowly while the camera makes a smooth three-quarter orbit. Warm rim light catches the glass and rain moves across the background. Keep the bottle shape, label position, and gold cap consistent throughout the shot. Calm, premium pacing.For a longer video, describe events in order. A 30-second prompt might establish the location, follow the subject, then end on a close detail. Explain the transition so the sequence reads as one idea.
Identify reference roles plainly: “Use the first image for the character, the second for the room, and the clip for slow handheld movement.”
Step 3: Set Duration, Resolution, Aspect Ratio, and Audio
Choose output settings based on where the video will be published. The Wan3.io Wan 3.0 workspace currently exposes these controls:
| Setting | Available choices | Practical use |
|---|---|---|
| Duration | 2–30 seconds | Short tests cost less; longer clips allow more narrative movement. |
| Resolution | 480P, 720P, 1080P | Use 720P for normal drafts and 1080P for higher-detail final candidates. |
| Aspect ratio | Auto, 16:9, 4:3, 1:1, 3:4, 9:16 | Match landscape, square, portrait, or vertical publishing formats. |
| Audio output | On or off | Enable audio when the chosen workflow needs synchronized sound. |
| Watermark | On or off | Review the setting before generating a publishable asset. |
Use shorter durations while testing. Once the subject, camera, and consistency work, increase the duration and add another narrative beat.
Resolution and duration affect the estimated credit cost. Wan3.io displays the estimate before submission, so check it before every render—especially when moving to 1080P or generating longer videos.
Step 4: Generate and Review the First Result
Generate one take, then compare it with the prompt across five areas:
- Subject: Does the person, product, or main object remain recognizable?
- Motion: Does the requested action happen at the right speed?
- Camera: Is the shot locked, tracking, orbiting, or pushing in as directed?
- Continuity: Do lighting, wardrobe, props, and spatial relationships stay stable?
- Audio and text: Are speech, sound texture, logos, and on-screen words accurate enough to use?
The Wan 3.0 page notes that sound texture and on-screen text can improve. If one area fails, revise that instruction first; changing every input and setting at once hides what fixed the problem.
Step 5: Refine, Extend, Edit, and Download
Keep the strongest result and make targeted changes. For face drift, simplify the action or improve the identity reference. For weak motion, name the camera move and speed. For style blending, clarify each reference role.
Wan3.io describes video extension for carrying a story forward and video editing for changing the picture, plot, or lines. Use extension when the current ending is a useful starting point. Use editing when the overall take works but a visual or narrative element needs revision. Preview the result in the workspace, inspect the beginning and ending frames, then download the selected version.
Log the prompt, input files, settings, estimated credits, and chosen output. This makes iteration repeatable and reduces unfocused variations.
Wan 3.0 Prompt Tips for More Consistent Results
- Give every reference one job instead of uploading assets without instructions.
- Describe camera direction with terms such as “slow dolly in,” “locked tripod,” “gentle orbit,” or “left-to-right tracking.”
- Separate subject motion from camera motion.
- State what must remain unchanged: face, clothing, product shape, logo position, scene layout, or color treatment.
- Test a short clip first, then extend the duration after the visual language works.
- Review small text, hands, faces, reflections, dialogue, and sound before publishing.
Results still vary with scene complexity, reference quality, duration, and settings.
Frequently Asked Questions
How long can a Wan 3.0 video be?
Wan 3.0 supports a duration from 2 to 30 seconds in the current Wan3.io workspace. The page also describes smart duration suggestions and video extension for continuing an existing clip.
What files can I use with Wan 3.0?
The generator supports common image, video, and audio references. The Wan 3.0 page also lists DOC, XLS, PPT, PDF, TXT, Keynote, Pages, Numbers, and Markdown for universal-creation workflows. Available fields depend on the selected mode, so confirm them in the live workspace.
Which resolution and aspect ratio should I choose?
Use 16:9 for landscape video, 9:16 for vertical social content, and 1:1 when a square format is required. Start at 720P for drafts. Choose 1080P when the added detail is useful and the displayed credit estimate fits your budget.
How are Wan 3.0 credits calculated?
The workspace calculates an estimate from the selected model, resolution, and duration before submission. Review that estimate each time because a longer or higher-resolution render can cost more.
Can I edit a Wan 3.0 video after generation?
The Wan 3.0 page describes both video extension and editing. Extension continues from an existing clip, while editing can change the picture, plot, or lines. Review the available controls in your workspace before planning a multi-step production.
Conclusion
This Wan 3.0 Guide comes down to a practical sequence: choose the right workflow, give every input a clear role, direct the shot with a structured prompt, select the publishing settings, and refine one problem at a time. If you are learning how to use Wan 3.0, start with a short 720P test, one subject, and one camera move. Once that works, use references, longer duration, extension, or editing to build a more complete story.
Create your first Wan 3.0 AI video.
Product details in this guide were checked against the Wan 3.0 page and the current Wan3.io workspace configuration. Controls, limits, model availability, and credit pricing may change; the live generator is the final reference before submission.
Author

Categories
More Posts
Is Wan 3.0 Open Source? What Is Available and Why Wan 2.2 Is
Is Wan 3.0 open source? No—not as of August 18, 2026. See what has been released, why Wan 2.2 is open, and which model fits your workflow.

Wan 3.0 Uncensored: Free, Unlimited AI Video Creation
Wan 3.0 uncensored means freer AI video creation with fewer template limits. Learn how to use Wan 3.0 for unlimited creative video workflows.